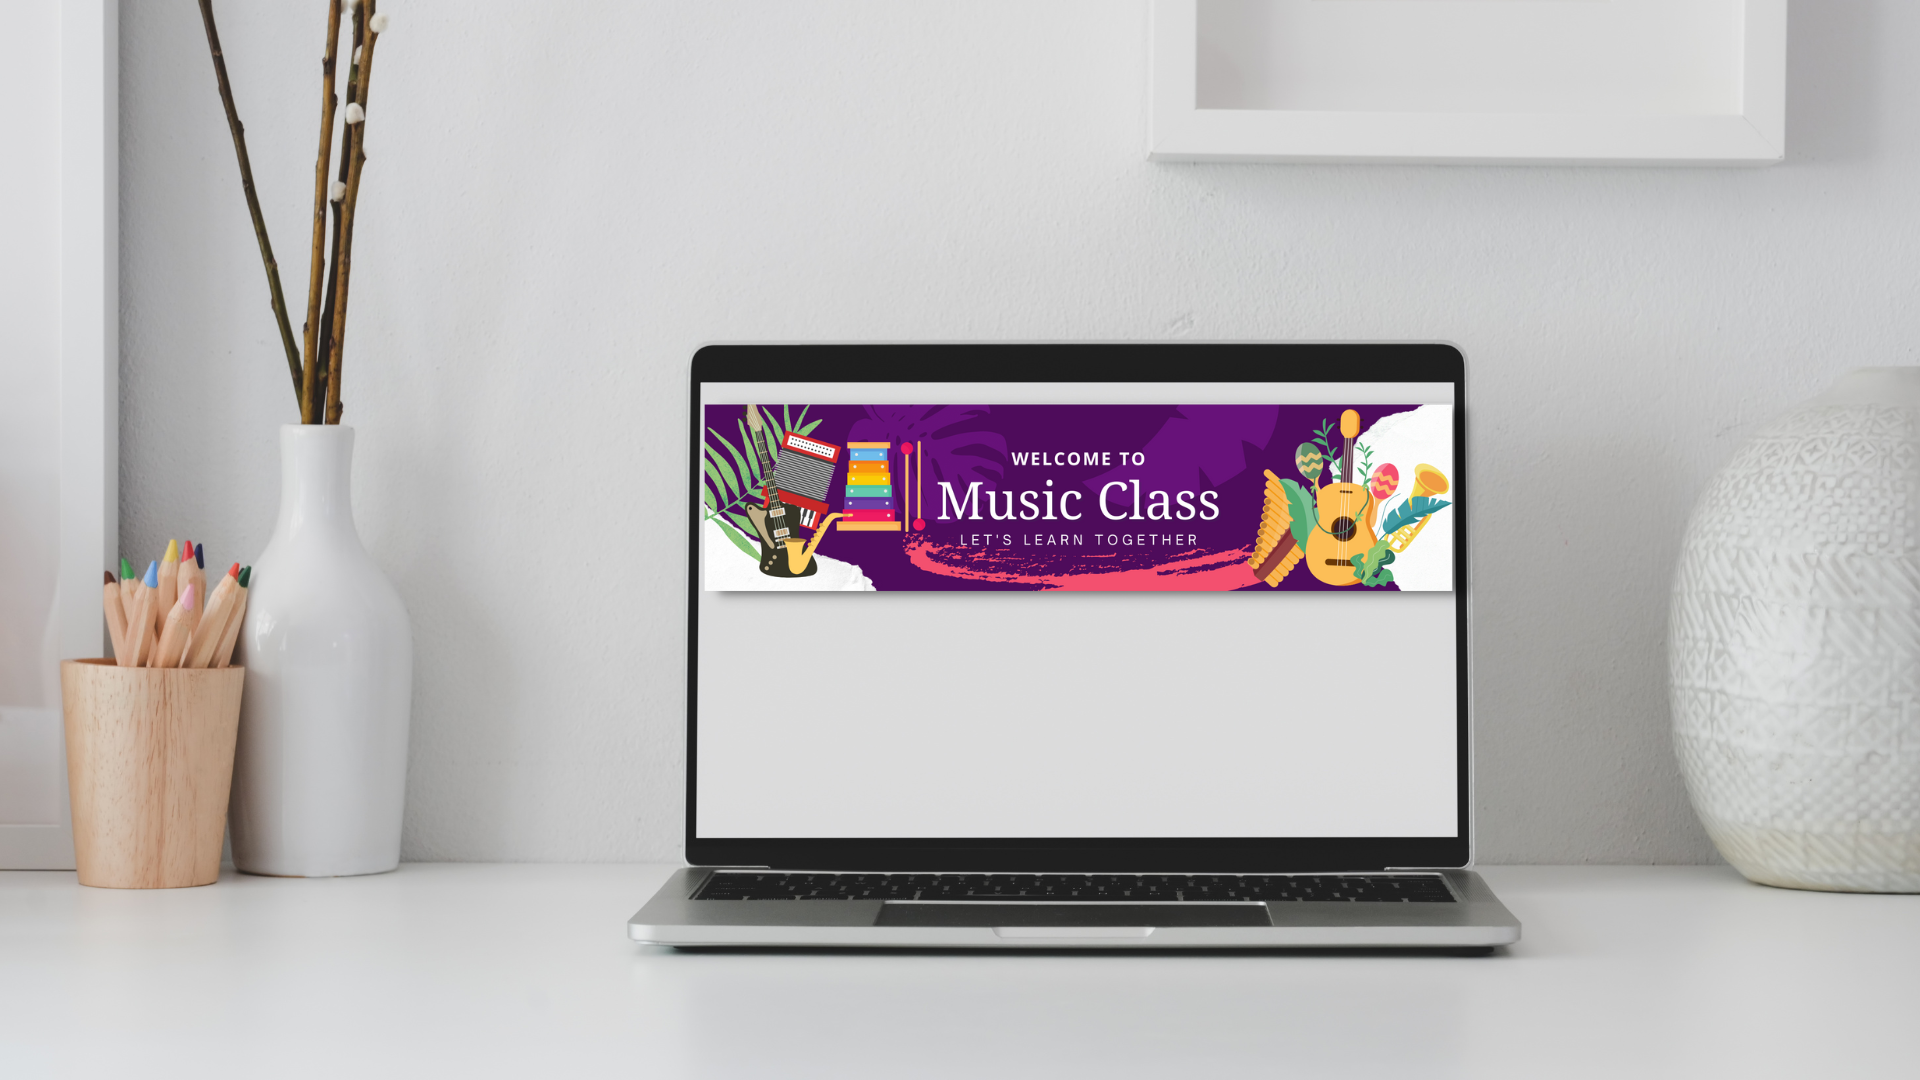
This article was originally published in the October 2022 issue of NJMEA’s TEMPO Magazine.
Canva for Education is a free tool for K–12 teachers and their students where one can create and personalize their own original designs, posters, videos, manipulatives, badges, certificates, or choose from thousands of high-quality, copyright-free educational templates. To access the free Canva for Education program, go to the Canva website and sign up using your education email address, or upload proof of your employment. Once you are approved, you will receive a verification notice via email. There is also a free version, but the educational free version gives you more access to the program. Many educators start out with the free version and then get upgraded to the educational version once they’re verified.
Why use Canva?
There are many times throughout the school year that I need to create a program or a poster or a manipulative so that I can hand them out for a concert, or place them as a QR code, or post them in learning management systems (LMS). I tell my students often that I am not an artist like our talented art educator. For this reason alone, I dove into Canva as the copyright-free images, templates, videos, audio, and more gave me the opportunity to create beautiful manipulatives. Ones that I could not create by hand.
Canva also saves you a lot of time because you do not have to create programs, posters, and other promotional items from scratch. You can create your own template so that you can reuse them from year-to-year, improving on them with other wonderful tools included in the program.
Canva is a One-Stop Shop!
I know that I am dating myself when I speak of once having to search multiple websites to find images, videos, elements, and more, to create one poster or one presentation. For example, creating a recorder fingering chart meant that I first searched for an empty recorder chart through a Google Image Search. However, if I was going to use this chart through the students’ LMS, I needed to search for images with Google’s Creative Commons Licenses checked or Commercial and Other Licenses checked. Once I found the image, I downloaded it or saved it to my Google Drive. I then needed to remove the background, so I would upload it to a site like remove.bg to remove the background. I would then download it or save it back to my Google Drive.
Now, I either need some sort of drawing tool to cover in the holes for each fingering or a shapes tool to create circles to cover the fingering holes of the recorder chart. Therefore, I would place the image in Google Draw or Microsoft Word, or some sort of design program and create the chart, adding colors, elements, and other items to make it look more pleasing to the students’ eyes. If I wanted to add another image, I was back in the Google Images search tool. Once finished I had to export it so I could print it or place it in their LMS or project it onto a screen during class.
This process takes time and energy. However, with Canva, everything is included in the program. And the amount of choices you have to share makes it intuitive for you and saves you a lot of time. Here are five ways to use this free education version of Canva in the elementary music classroom.
5. Create a Program
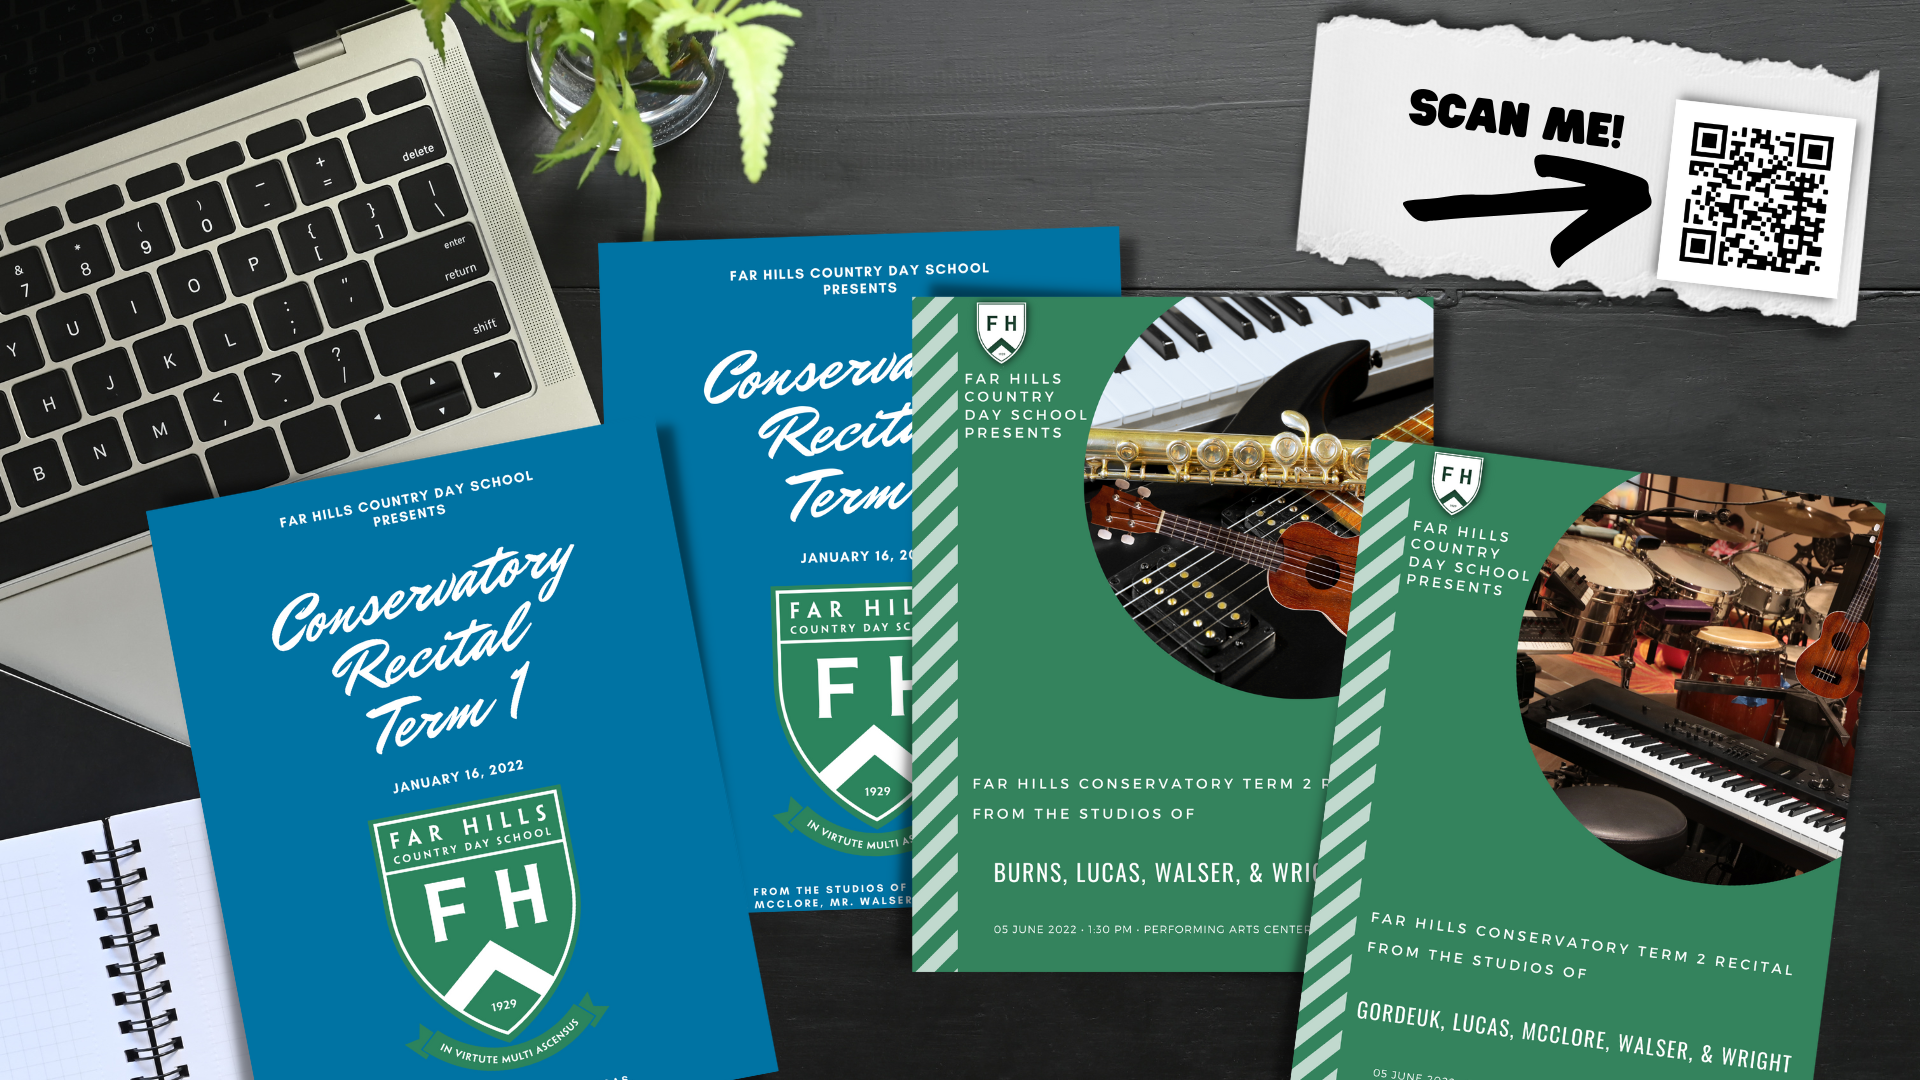 There are many times a year when we have to create a program for a concert, informance, musical, and more. In Canva, if you search for programs in templates, you come up with seven categories. From there, you can find numerous templates where you can change the text to feature your program, the font, and the images. I have done this for our conservatory recitals.
I have also created a program for our musicals, shared the program as a pdf to my drive, changed the permissions of the pdf to “anyone with a link” can view, copied that link to input into, and created a QR code for the families and caregivers to scan at the beginning of the musical. They could now read the program on their devices. This saved us a lot of paper as parents could print the program if they wanted when they got home, but we no longer had crumpled-up programs on the floor or in the trash.
4. Create a Chart as a Resource for the Students as well as Certificates or Badges
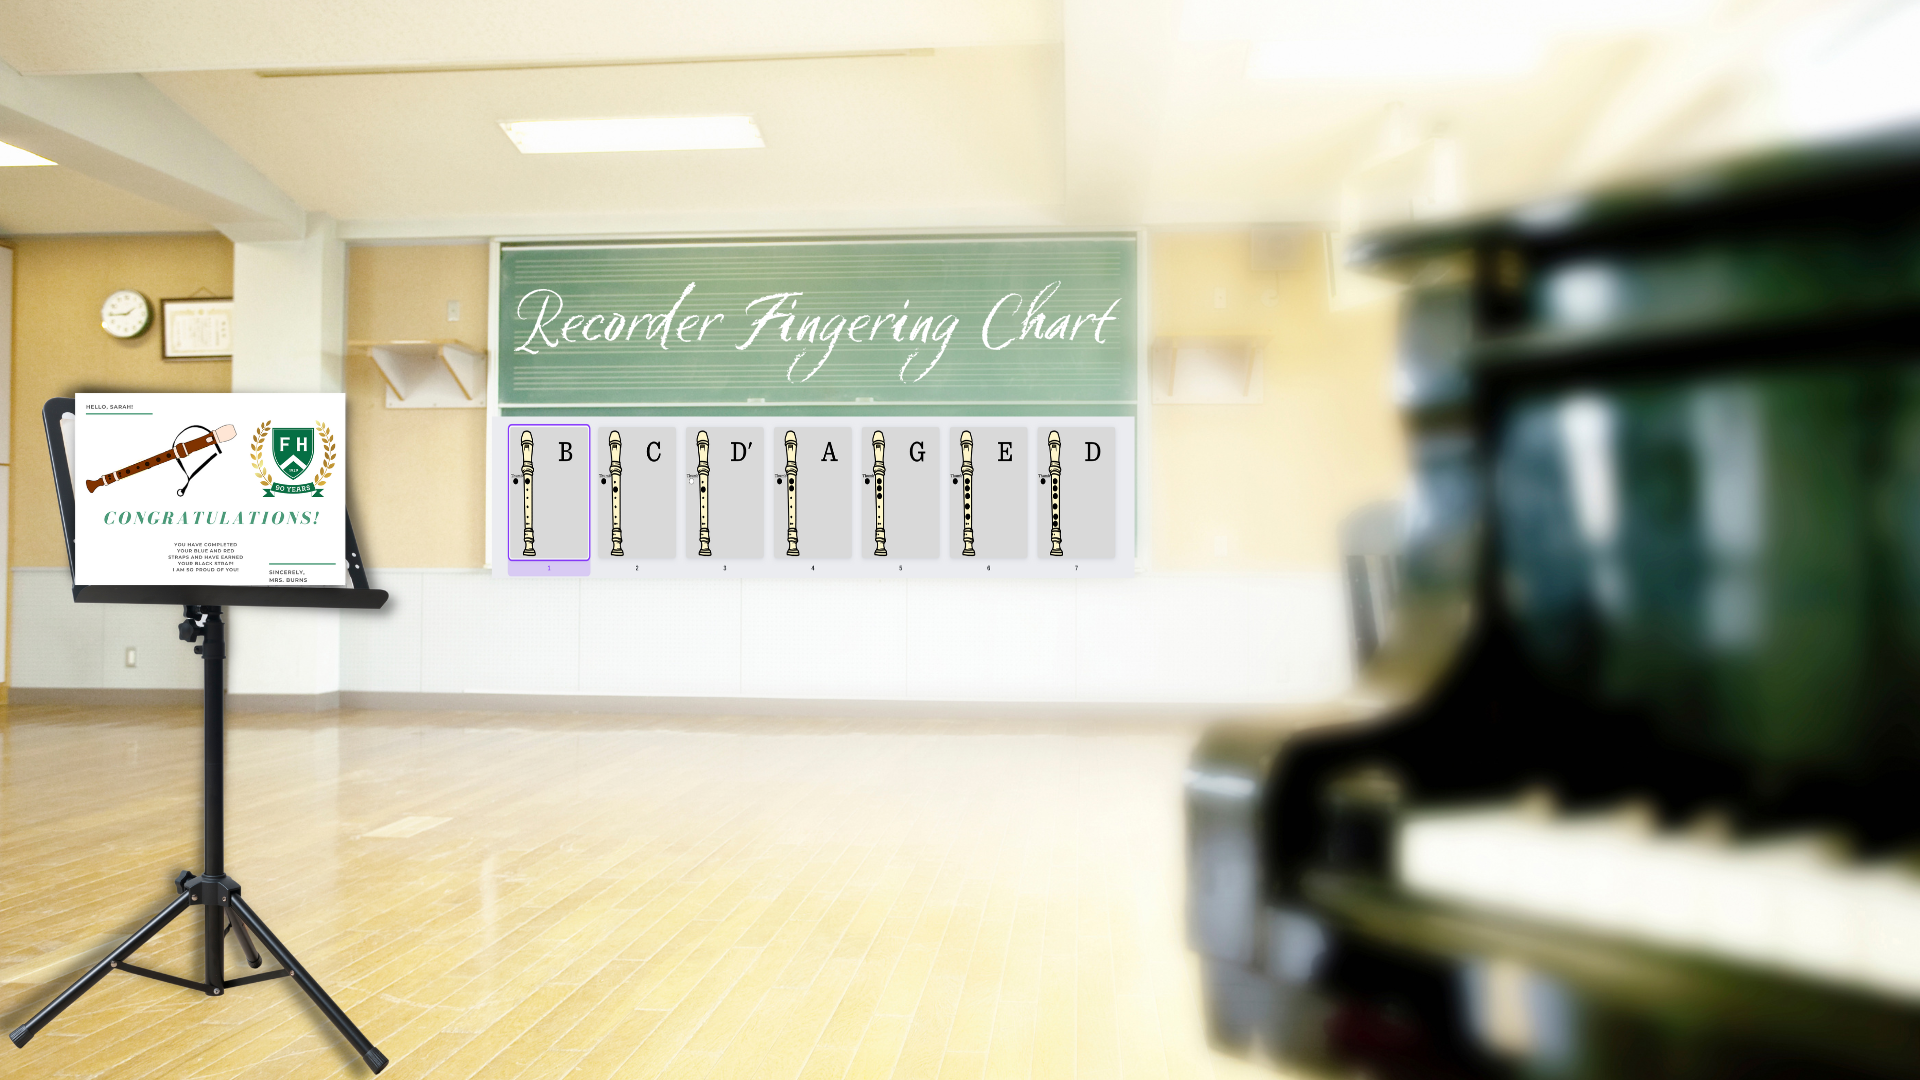 As stated in the opening, I had taken painstaking measures to create a recorder chart over the years. With Canva, you can do it all within the app. Start with a poster template. Then search the “Elements” for “recorder instrument.” You will find a Yamaha ivory recorder. Since the thumb hole is not there, I will use the “Elements”>”Circle” tool to add a thumb hole and the “Text” tool to add the word “Thumb.” With Canva, it is good to use a filled-in circle shape and then click on the color tab to make it clear. You will then need to click on the outline tool to make it appear. This gives you an empty hole that you can fill in when you need to. I can also resize the items by clicking on the dots at the edge of the image or text to resize them.
I then use the text tool again to create the letter “B” and use the shapes tool to fill in the thumb hole and cover up the first hole on the recorder chart. I duplicate the page to add another circle and change “B” to “A.” I continue until I have made a page for each note we will use or might use that school year.
To share this with the students, I could print out the charts and place them in the classroom. I could also export them as png or pdf files and share them in the LMS. Or, I could create empty charts with note names and share them as editable files in the LMS. The students can create a copy of the Canva file and fill in the tone holes. This would require your IT to give permission for students to use Canva in their classrooms and that the students know how to save it as a copy so that they do not edit the original Canva file.
Finally, you can upload images of the notes on the staff. If you are associating the notes with Boomwhacker colors, you can change the note name and the colors of the tone holes to match the Boomwhacker colors. If you are creating a ukulele chart, you can find images of ukuleles in Canva, use the “Elements” tool to create a chart or grid and use the shapes tool to create circles so that you can have a ukulele fingering chart available. Click here to access this recorder fingering chart.
Bonus: Use Canva templates for certificates and badges to motivate the students to earn them as they progress in their learning. You can place these certificates and badges in their LMS, email them to their caregivers, or print them out to give to the students at the end of class.
Tip: A Canva tip for when you are trying to move a small object on the screen, click out of the object first and then click back in. This will make it easier to move and will not inadvertently resize it.
3. Create a Google Classroom Header
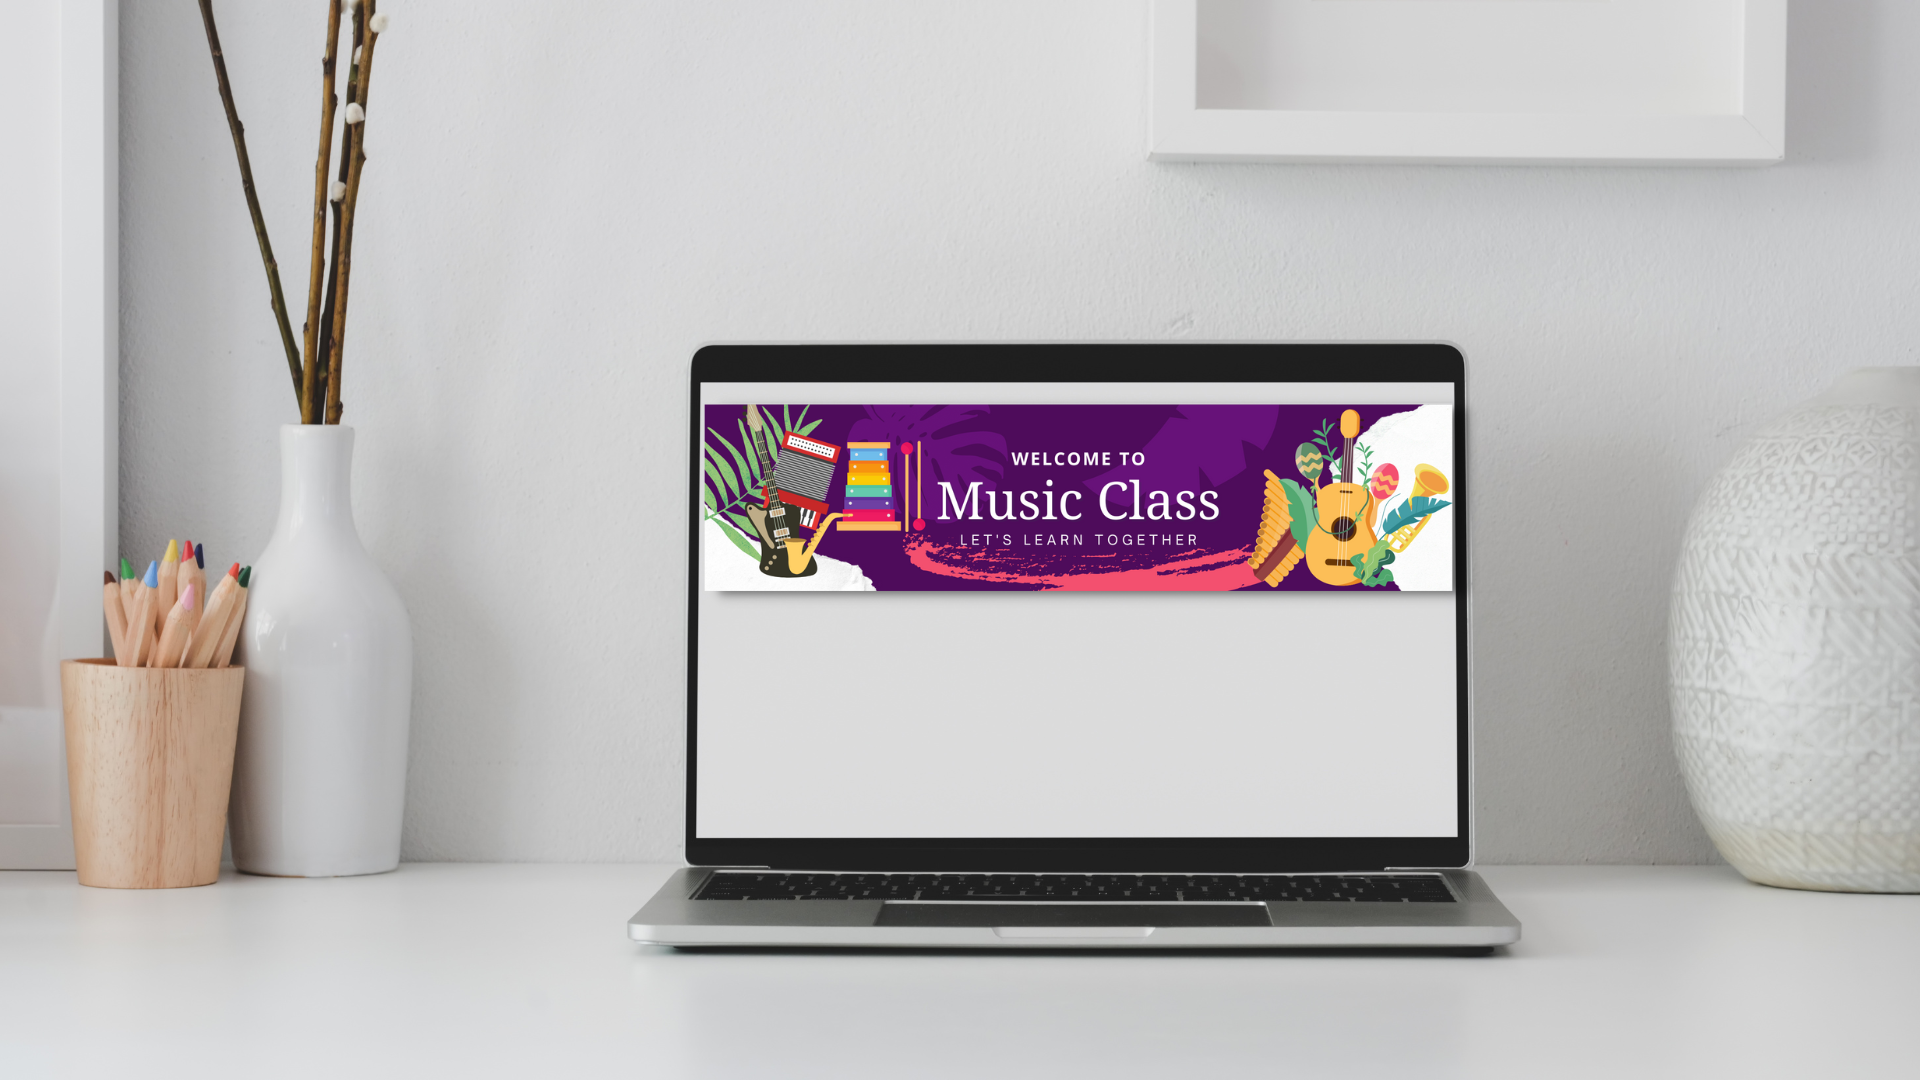 Many schools use Google Classroom (GC) as their LMS, and Canva has a template for that. If you search for “google classroom music,” you will find numerous templates to spice up your GC header. Click on the one that appeals to you, and adjust the fonts, pictures, and colors if needed. Download the header by clicking on “Share”>”Download”>png file.
Open your GC, click on the settings tool, click on “Customize” then “Upload.” Drag the png file into the upload window and click on “Select class theme”. Click “Save” and your GC has a new look.
2. Create a Manipulative
 You can create amazing digital, printable, or shareable manipulatives for your lessons. This past summer, I made it a goal to create rhythm play-along videos to simple songs found in the Kodály approach. I always started with Canva so that I could begin the play-along with a video and so that the notes and body percussion would have a fantastic background.
In the example found in “We Are Playing/Dancing in the Forest,” all of the background images and videos were created in Canva. I imported the musical notation by using Flat.io for education, where I can create the songs using boomwhacker notation and then screen record them being played.
Canva has videos and audio files that you can use to enhance your teaching manipulatives. You can also record yourself singing or playing an instrument through the “Upload” tool. When downloading a video or a slide that includes audio, you would change the sharing settings to “Download”>”MP4 Video”. Here’s an example of one of the play-along videos I created using many of Canva’s tools.
1. Create a Worksheet or Game
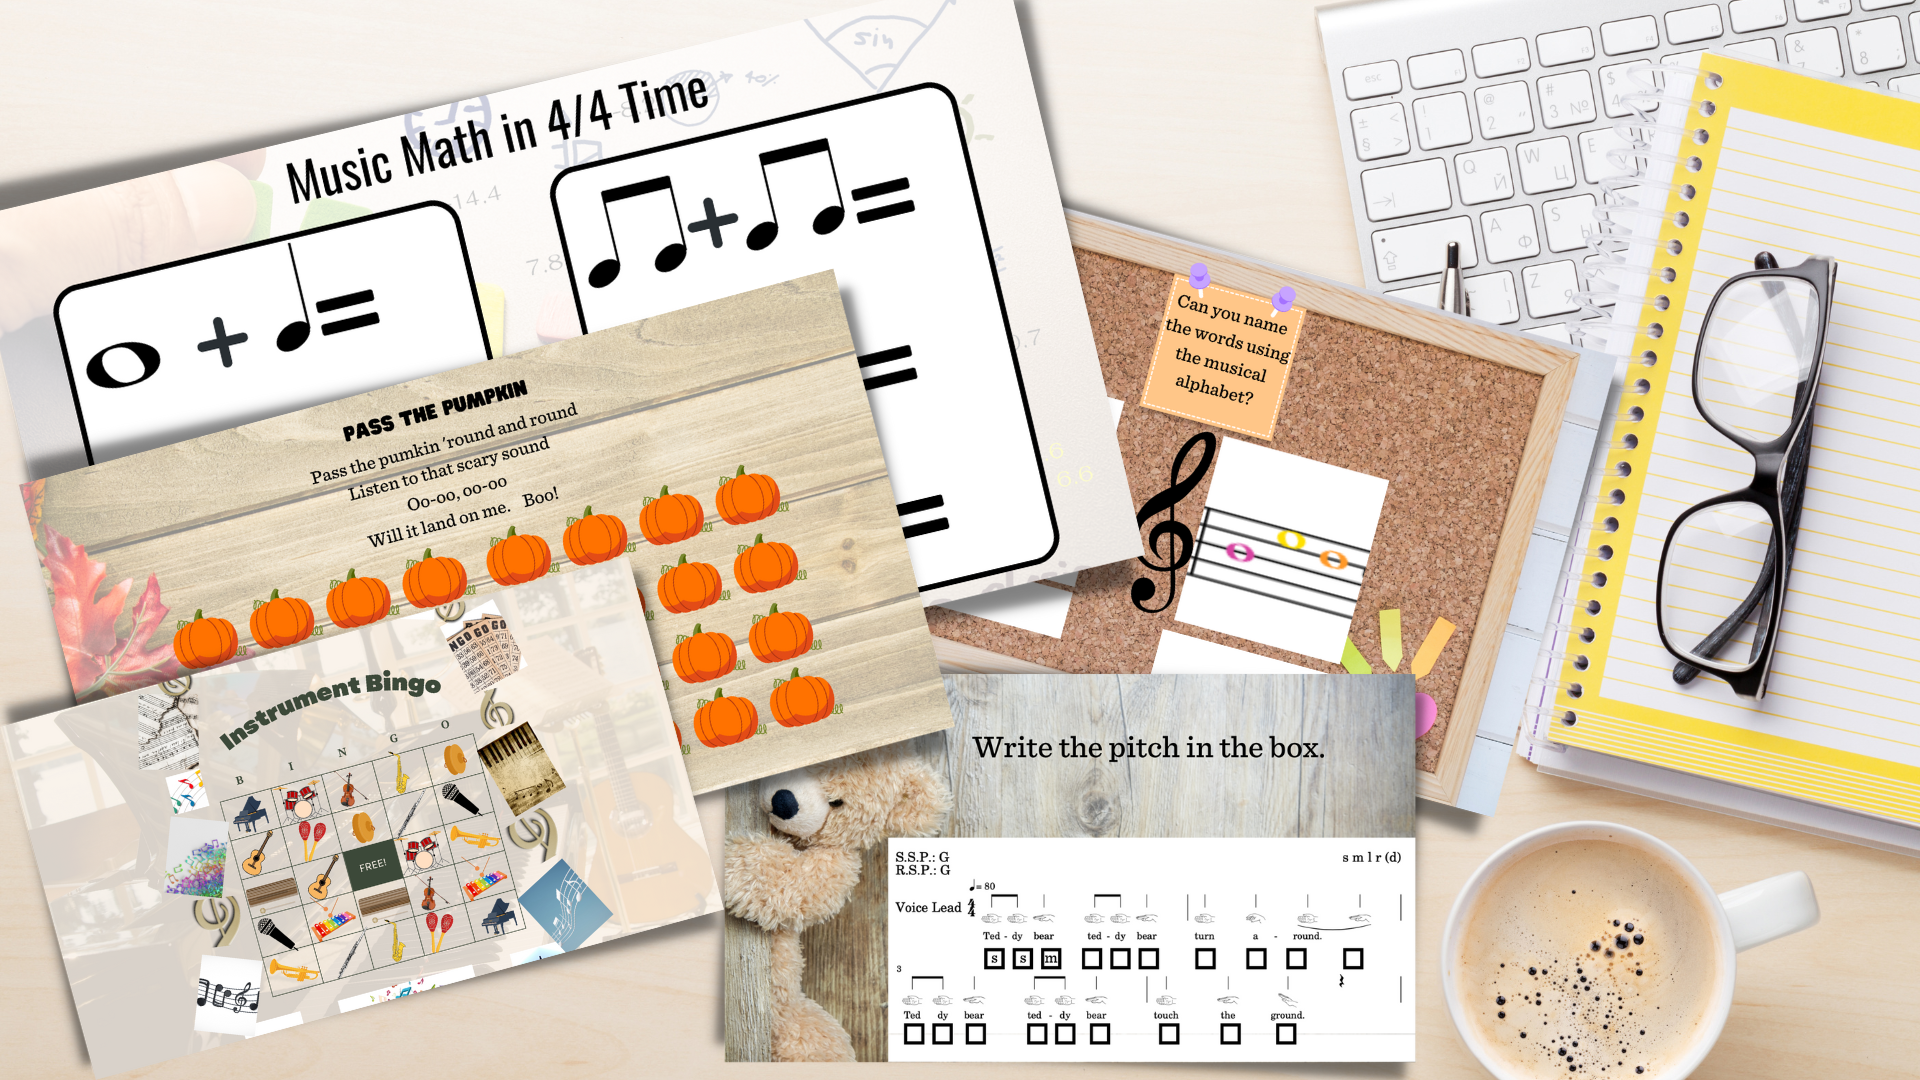 Canva can be used to create worksheets and games to use for retrieval practice, assessments, as an activity right before a holiday break, or when you have a sub in your classroom.
Retrieval Practice
Create a worksheet with text, boxes, and columns to promote the practice of note names, solfege, music math, and more.
Beat Practice
Create a sheet with hearts, pumpkins, stars, pennies, or an object that is sung about in a song, and have your young elementary students use markers, pencils, stamps, pennies, etc., to keep the beat as the song plays.
Compose a rhyme
Create a simple worksheet where the students compose a rhyme or haiku to use as a B section to a song or to use as a poem that has accented words played on classroom instruments.
Bingo
Create a bingo game by finding the instruments in the image library. Begin with a chart and then add the instrument images. Duplicate the page so that you can change the images to sit in different squares of the chart. Create 6–10 charts, print them, and leave them for the sub with an answer key with the name of the instruments.
To access the examples here, click here.
Canva is an amazing tool for any music classroom, especially an elementary music classroom. If you have not yet used Canva, try it out for free with the free version. If you have the free version and have not upgraded to Canva for Education, try the free upgrade.